On this page
Getting started
XICflow turns a handful of details into a complete website and then opens it in the editor. This chapter takes you from a first look without an account, through the setup assistant, to the moment your website is publicly reachable. No prior knowledge required — a company name is enough.
The route at a glance
Six stages lie between the first look and the published website. Each of them is covered in detail below; this table says up front what happens where.
| Stage | Where | What you have afterwards |
|---|---|---|
| Look around | Sign-in screen, “View without signing in (demo)” | A working editor filled with an example website; nothing is stored |
| Create an account | Sign-in screen, “Create account” | An account and workspace on the Free plan; you are signed in right away |
| Setup assistant | The “Setup” area, three steps | Company name, context and the summary of the brief |
| Build | “Generate now” | Home page and subpages as a draft, with copy, meta data and images |
| Edit | Editor | Your changes to copy, images and blocks — saved as you work |
| Publish | “Publish” at the top right | The website is reachable at its address on xicflow.com |
The stages build on one another, but nothing is set in stone: you can go back at any time, change your entries and publish again. Nothing you enter in the assistant is final — it provides the starting point, everything after that happens in the editor.
The assistant appears only once
XICflow takes you into the setup assistant as long as your account contains no website at all. Once one exists, signing in lands you straight in the editor. Further websites are created there via the site switcher.
Trying it without an account
There is a hands-on demo: the complete editor, filled with the content of a published example website. It costs nothing, asks for nothing and leaves nothing behind.
-
On the sign-in page, at the very bottom under “Just looking?”, click “View without signing in (demo)”.
The editor opens immediately, without an account and without any input.
-
Click blocks, move them, change copy.
Everything behaves like the real editor — except that nothing is saved.
-
Use “Back to website” at the top right to return to the public site.
From the account menu at the bottom left, “Create account / sign in” takes you straight to registration.
The demo does not show a rebuilt example but the real state of a published website including its colours — so you see what the tool actually produces. The same demo opens from the “Open the live editor” link on the XICflow demo page.
| Area | Without signing in | With an account |
|---|---|---|
| Page list | A single entry for the one page on show | All pages of your website |
| Preview | The home page of a published example website, including its colours | Your own page |
| Changing blocks | Possible; the change stays in the window and is gone after a reload | Saved as you work (“saved” in the header) |
| AI column | Marked “Demo mode” with the note “In demo mode the AI chat is disabled.” | Marked “connected” |
| “Load brand” | “Brand analysis requires an account.” | Available |
| Generating a logo or favicon | “Sign in to generate.” | Available |
| Uploading images | “Uploading requires signing in.” | Available |
| Media library | “The media library requires signing in.” | Available |
| Header and footer | “Demo mode: sign in to save.” | Saved |
| Publishing | The button stays inactive | Available |
| Account menu | “Demo mode — these areas require an account.” with “Create account / sign in” | Account, requests, content, domains, brand, header and footer |
Nothing is saved
Demo mode deliberately stores nothing: changes live only in the open window and are gone after a reload. Leaving the demo leaves no traces for your next visit. A real website needs an account.
Create an account
The first time you open the editor, the sign-in screen appears: the form on the right, a short product summary on the left.
-
Under “New to XICflow?” click “Create account”.
The form switches from signing in to registration.
-
Fill in the three fields “Name”, “Email” and “Password”.
Below the password field it says “At least 10 characters.” — anything shorter is not accepted.
-
Click “Create account”.
While the account is being created the button reads “Creating account…”.
If an entry is not valid or the email address is already taken, the message appears directly below the field in question, or as “Diese E-Mail-Adresse ist bereits registriert.” Once the account exists you are signed in right away; there is no extra login step. “Already have an account? Sign in” takes you back to the sign-in form at any time.
Creating the account also creates your workspace. It starts on the Free plan, and its quotas shape the first steps, so here they are up front.
| Quota | Free plan | Relevant at the start for |
|---|---|---|
| AI texts per month | 20 | the build, the brand analysis and the text commands in the editor |
| AI images per month | 3 | images during the build and images you generate later |
| Websites | 1 | a second website needs a larger plan |
| Publishes per month | 3 | counted in the usage overview |
| Storage | 0.5 GB | uploaded and generated files together |
| Custom domains | 0 | the address on xicflow.com always stays available |
The monthly quotas start over with every calendar month. Anything beyond them can be paid for with AI credits; the full comparison of all plans is in the chapter on account, plans and security.
Signing in
There are three ways into an existing account, plus the look around without signing in.
-
Enter your email and password, then “Sign in”.
The classic route that works on every device.
-
Or choose “Sign in with passkey”.
The button only appears if your device and browser support it — for example via fingerprint or face recognition.
-
Or use “Sign in with Google”.
This leads to the Google sign-in and then back into the editor.
| Route | Requirement | Note |
|---|---|---|
| Email and password | An account with a password | If an authenticator app is set up, the second-factor prompt follows |
| “Sign in with passkey” | Device and browser support passkeys | The button only appears in that case; the code prompt is skipped |
| “Sign in with Google” | A Google account | Leads to the Google sign-in and back into the editor; the code prompt is skipped |
| “View without signing in (demo)” | nothing | A pure hands-on demo; nothing is stored |
If signing in fails, the message appears below the form — “Sign-in failed” for a password, “Passkey sign-in failed” for a passkey. “Back to website” at the top right returns you to the public XICflow site at any time.
Signing in with a second factor
If you have set up an authenticator app for your account, a second step follows after “Sign in”. The screen asks you to “Enter the 6-digit code from your authenticator app.”
-
Read the code from the app and type it into the field.
The same field also accepts one of your backup codes if the app is not at hand.
-
Click “Confirm”.
Only then is the session open.
-
Use “Back” to return to the sign-in form.
Useful if you want to correct your credentials.
If the code is wrong or expired, “Invalid code” appears. Signing in with a passkey or with Google skips this prompt. Setting up two-factor sign-in is described in the chapter on account, plans and security.
The setup assistant
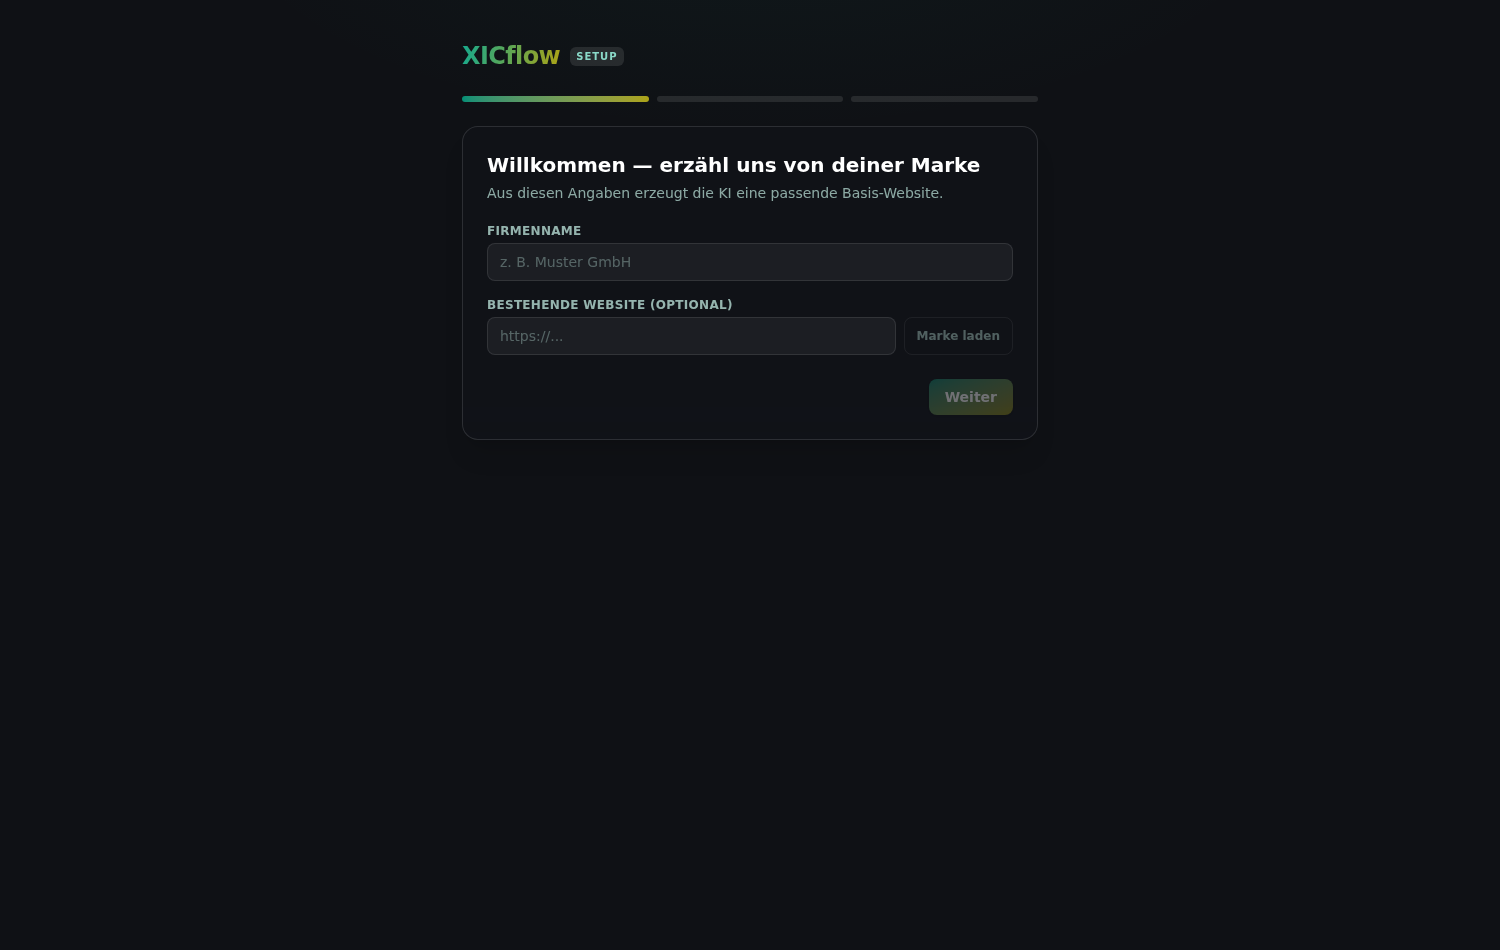
If your account does not contain a website yet, XICflow takes you straight into the setup assistant (marked “Setup” at the top). A three-part progress bar shows where you are. The first step is titled “Welcome — tell us about your brand” and carries the line: “From these details the AI generates a matching base website.”
-
Fill in “Company name”.
The name you trade under. Without it, “Next” stays inactive.
-
Enter the address of your current site under “Existing website (optional)”.
Leave the field empty if there is no website yet.
-
Continue with “Next”.
You can always go back later using “Back”.
| Field | Step | Required | Example in the field |
|---|---|---|---|
| “Company name” | 1 | yes | “e.g. Example Ltd” |
| “Existing website (optional)” | 1 | no | “https://…” |
| “Industry” | 2 | no | “e.g. trades, law firm, restaurant” |
| “Target audience” | 2 | no | “e.g. private customers in the region” |
| “Website goals” | 2 | no | “e.g. win enquiries, book appointments” |
Importing a brand from an existing website
Once an address is filled in, you can click “Load brand”. XICflow fetches the page, reads its title, description, site name, theme colour and a sample of the text, and derives a proposal from that. During the analysis the button reads “Analyzing...”, afterwards the message “Brand applied: name, industry and colors prefilled.” appears.
| Proposal | Where it goes |
|---|---|
| Name | Into the “Company name” field, provided it is empty |
| Industry | Into the “Industry” field, provided it is empty |
| A short sentence about the brand | Into the “Website goals” field, provided it is empty |
| Tone | Stored with the website and steers later AI copy |
| Description of the brand voice | Stored with the website |
| Two colours | Applied as complete colour scales once the website exists — visible on the result, not in the assistant |
What “Load brand” leaves alone
Only empty fields get filled — anything you typed yourself stays untouched. The colours are not shown in the assistant but on the finished website; you can change them later under “Brand” at any time. If the analysis fails, the assistant states the reason and you fill in the fields by hand.
A note on sequence: “Load brand” already consumes one AI text action from your monthly quota, as does the build later on. Without signing in the analysis is blocked; the field then reads “Brand analysis requires an account.”
Context for the AI
The second step is called “Context for the AI” and carries the note: “Optional — whatever you leave out, the AI derives from context and research.”
-
State your “Industry”.
For example trades, a law firm or a restaurant. This entry also decides whether the structured data for search engines describes a local business.
-
Describe your “Target audience”.
Who you are addressing, for example private customers in the region.
-
Name your “Website goals”.
What the site should achieve, such as winning enquiries or booking appointments.
-
Move on to the last step with “Next”.
“Back” returns you to step 1.
The more precise these three answers are, the closer the result sits to your business. You may also leave every field empty — the AI then derives suitable sections from the company name and industry.
Repairs and maintenance
Scheduled maintenance and quick help when something breaks, with a named contact.
Appointments by arrangement
Fixed time slots instead of vague promises — early mornings included.
Out and about nearby
Travelling to the surrounding towns is part of the job.
A briefing that carries
Your entries are turned into a short brief. It is the only text the AI knows about your business — which is why three extra sentences pay off.
The briefing consists of your five entries plus a fixed instruction. You see it in full in the third step, before anything is generated. Field by field the rule is: a concrete answer beats a general one, and leaving something out is better than getting it wrong — whatever is missing, the AI derives.
| Detail | Too thin | Solid |
|---|---|---|
| Industry | services | electrical installation, focused on period properties |
| Target audience | everyone | home owners within a 30-kilometre radius |
| Website goals | get found | enquiries through the form, appointments by phone, introduce the team |
| Existing website | left empty although one exists | the address of the current site, so name, industry and colours can be picked up |
What belongs in it
- What you do, in the words of your customers — not as an industry label but as a service.
- Who you do it for and where: private customers or businesses, town and surrounding area.
- What should happen on the website: call, fill in a form, book an appointment, read up.
- What sets you apart — emergency service, a named contact, particular methods or materials.
- The address of your current website, if you have one: name, industry and colours come from there.
What you can leave out
- Finished page copy — that is written during the build and can be overwritten in the editor afterwards.
- Wishes about colours, fonts or the logo. Those belong under “Brand”, not in the briefing.
- Anything you are not sure about. A wrong detail runs through all the generated copy.
- Legal texts. Imprint and privacy policy are handled separately anyway.
Length
The briefing may be up to 8,000 characters long. A few well-filled sentences per field are enough — it is a work order, not an essay.
Generate the base
The third step is called “Generate the base” and carries the line: “The AI builds your home page plus sensible subpages from this — including meta data.” Below it, the complete briefing is shown for you to read.
| Line | Contents | If you entered nothing |
|---|---|---|
| “Unternehmen:” | your company name | “(unbenannt)” |
| “Branche:” | your entry | “(von KI aus Kontext und Recherche ableiten)” |
| “Zielgruppe:” | your entry | “(von KI ableiten)” |
| “Ziele der Website:” | your entry | “(sinnvolle Standardziele annehmen)” |
| “Bestehende Website:” | the address you entered | “(keine)” |
| “Aufgabe:” | the fixed brief: a base website of home page plus sensible subpages, derive whatever is missing, add meta description, page titles and structured data | unchanged |
| “Address:” | xicflow.com plus the short name derived from your company name | Without a company name the short name comes from the address of the existing website |
| “SEO:” | “Meta-Description + JSON-LD (Organization/LocalBusiness)” | Without an industry it only reads “Organization” |
-
Check the summary.
Individual entries can still be corrected via “Back”.
-
Click “Generate now”.
While it runs, the button shows “Generating...” with a spinning ring.
-
Wait until you are moved into the editor.
Depending on the scope this takes a few minutes. Afterwards the new website is already selected there.
Clicking triggers three things in sequence: the website is created, the proposed brand colours are applied, and then the actual build starts. The build does not run in your browser but as a job on the server; the assistant merely asks for the current state every two and a half seconds.
| Value | Meaning |
|---|---|
| ten minutes | Time budget of one build on the server |
| ten minutes | How long the assistant follows the progress before it stops waiting |
| every 2.5 seconds | How often the assistant asks for the current state |
| 8,000 characters | Maximum length of the briefing handed to the AI |
| 40 pages | Maximum number of pages a single run creates |
| 500 blocks | Maximum number of blocks a single run creates |
| one AI text action | What a complete build consumes from your monthly quota |
| 30 minutes | After this long without a sign of life, a stalled run counts as finished and no longer blocks the website |
You may close the window
Because the build runs on the server, closing the window does not undo it: the website has been created and is finished off regardless. You simply will not be moved into the editor automatically — the next time you sign in, the website is there. If you do stay in the window, the editor opens by itself once the run is complete.
A second click does not create a second website
The assistant remembers the website it already created. Clicking “Generate now” again after a failure therefore continues building that same one. If a build is still running at that moment, the same run is followed instead of starting a second one — so nothing is charged twice either.
What you get
At the end of the run a complete website exists as a draft — not a scaffold you still have to fill. This overview says what it consists of.
| Element | Where it comes from |
|---|---|
| Home page and subpages | From the briefing; one of the pages is marked as the home page |
| Blocks on each page | Exclusively from the XICflow block catalogue — no one-off constructions |
| Body copy | Written during the same run |
| Images | Generated, stored with alternative text and counted against your plan’s image quota |
| Heading levels | Tidied up afterwards so no level is skipped: the main heading sits in the opener, after which each level rises by at most one step |
| Page titles and meta descriptions | From the fixed brief in the briefing |
| Structured data for search engines | Organization, plus LocalBusiness when an industry is given |
| English version | Created right afterwards unless the primary language is already English: titles, addresses and the text of every block |
| Imprint and privacy policy | Created as pages at the latest when you publish, if they are missing |
| The note “Erstellt mit XICflow” | Sits in the footer; removing it is reserved for the largest plan |
Languages
The language of your new website follows how the interface was set when you created the account; without a choice of your own, your browser language decides. If that is not English, an English version is added directly afterwards: page titles, addresses and the copy of every block are translated, and English is registered as the website’s second language. If that step does not succeed, the state already built stays untouched.
You add further languages later under “Brand”; how to maintain content per language is described in the chapter on brand and design.
Legal pages
An imprint and a privacy policy are mandatory for a business website. XICflow therefore checks before every publish whether both pages exist and creates whichever is missing — regardless of whether the AI already covered them during the build. Existing pages are never overwritten. Further legal texts such as terms or withdrawal notices belong to your editorial work and are not enforced.
Accessibility and data protection are built in
Every generated website follows the same rules: images always carry alternative text, heading levels are kept free of gaps, and the legal pages belong in every site structure. These points cannot be switched off.
After generation
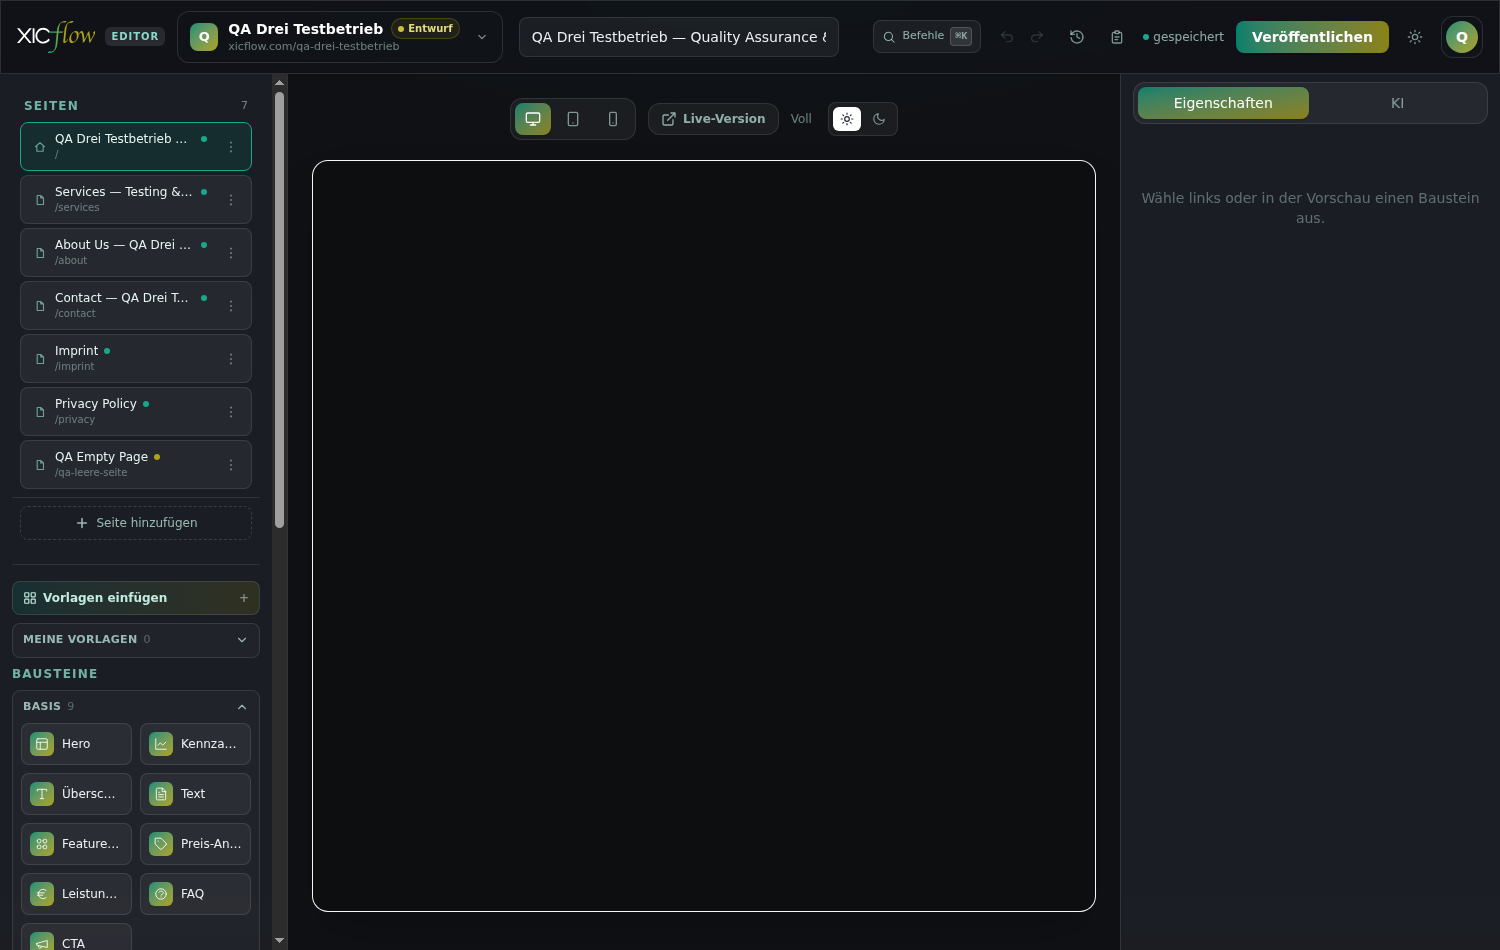
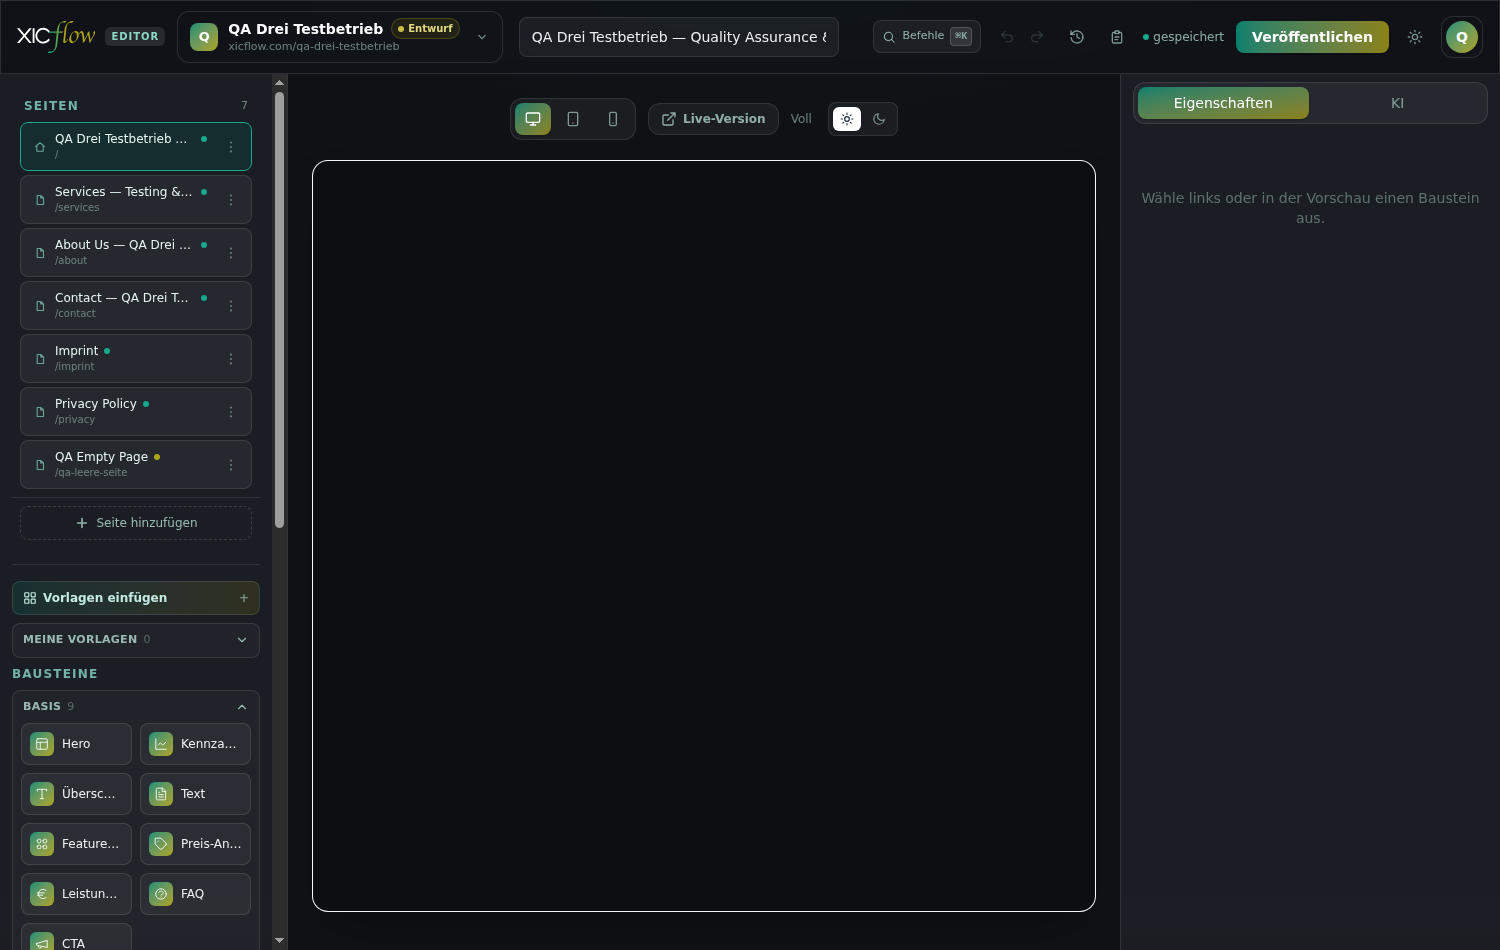
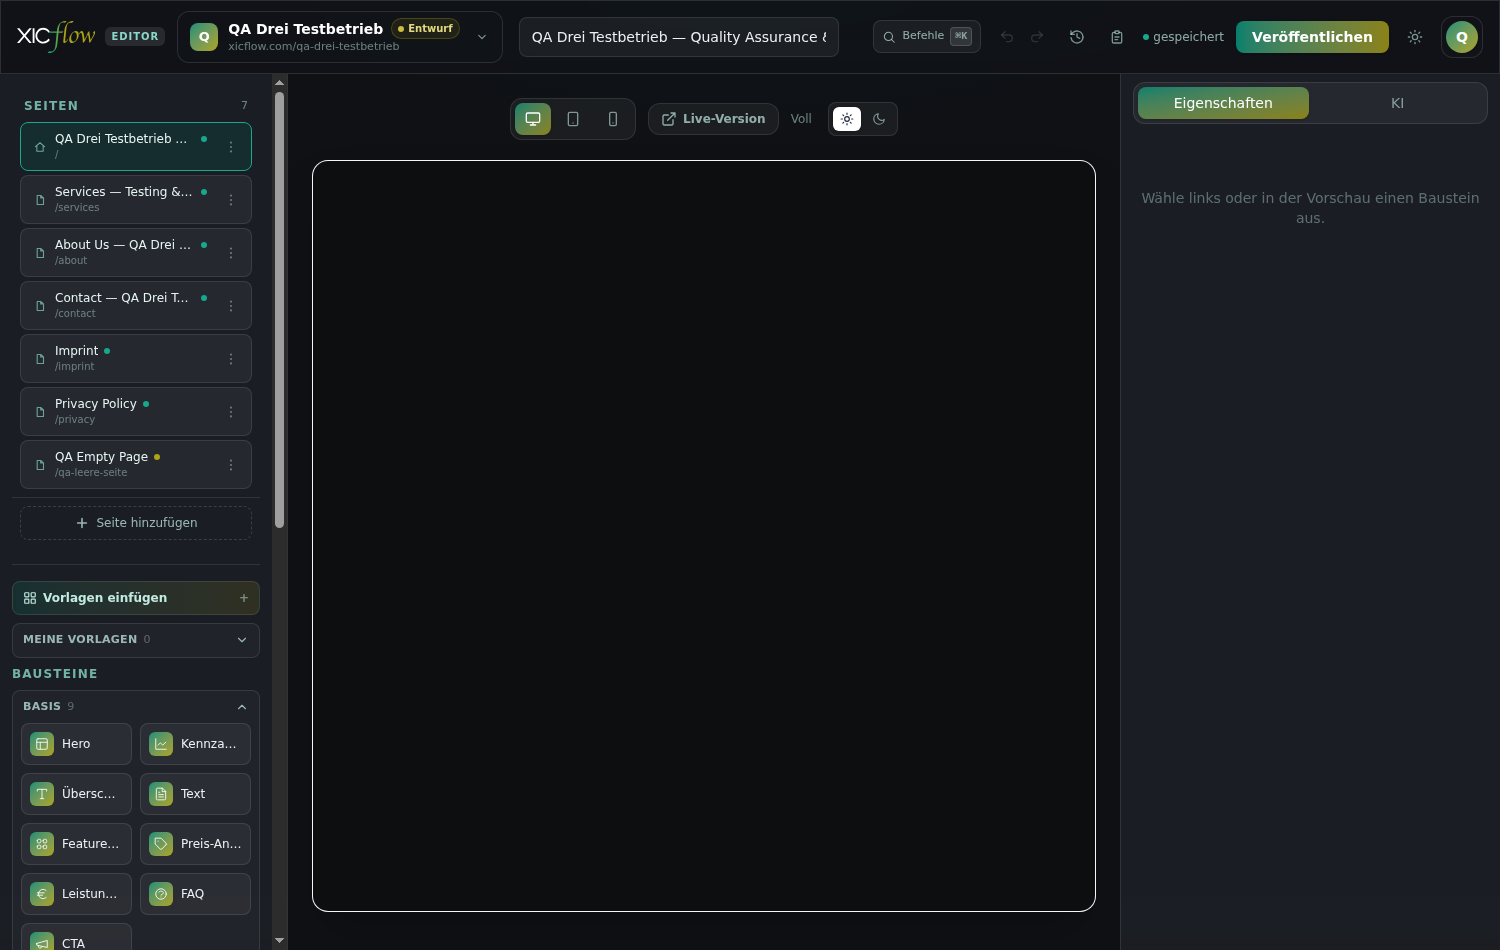
Once the AI has finished, XICflow switches to the editor with your new website already selected. You see the home page plus the subpages that suit your industry, complete with copy, images and structure.
| Area | What sits there |
|---|---|
| Top | Site switcher, page title, “Commands” (⌘K), “Undo”, “Redo”, “Version history”, “Activity”, the save state and “Publish” |
| Left | “Pages”, “Insert templates”, “My templates”, the “Blocks” list and the running order under “Structure” |
| Middle | The “Live preview” with “Preview width” (desktop, tablet, mobile), “Preview colour scheme” and the “Live version” link |
| Right | The tabs “Properties” and “AI” |
The site switcher at the top left names your website, its state (“Draft”, “Live” or “Archived”) and its address below. As long as nothing has been published, it reads “Draft”.
A draft at first
The generated website starts out as a draft. It only becomes publicly reachable once you click “Publish”. Until then you can change everything at your own pace — by hand or through the “AI assistant” in the “AI” tab on the right.
Your first changes
Almost every generated website needs three things first: a few passages in your own words, a better-fitting picture and the odd extra block. All three are within easy reach.
-
Click the block in the preview.
It gets an outline, and the “Properties” tab with its fields opens on the right.
-
For copy, double-click into the text and type straight away.
This works on the opener, headings, intros, body copy and the text inside cards. For anything else the focus jumps into the matching field on the right instead.
-
Confirm with the Enter key.
Shift and Enter insert a line break, Escape discards the change.
-
Check the save state at the top.
It reads “saved”. If “Not saved” appears, the “Retry” button next to it helps.
| Task | How |
|---|---|
| Change text directly | Double-click the text in the preview, type, confirm with Enter; Escape discards |
| Change text via the right-hand column | Click the block and edit the field under the “Properties” tab |
| Highlight a word | While editing in the preview a small bar appears offering “Bold”, “Italic”, “Accent” and “Link” |
| Swap an image | Select the block and pick one of the tabs under “Image source” on the right |
| Add a block | Open a group under “Blocks” on the left and click the block you want — it is appended at the bottom |
| Change the order | Drag the entry under “Structure” or use the “move up” and “move down” arrows |
| Duplicate or delete a block | The buttons on the entry under “Structure” |
| Take back one step | “Undo” at the top; for older states, “Version history” |
Changing copy
A double-click on a heading, an intro, body copy or the text inside a card makes that spot directly writable — you type where the text will later sit. A small bar appears above the caret offering “Bold”, “Italic”, “Accent” and “Link”. “Accent” highlights a word in your brand colours; in the source it is a word between two equals signs. Blocks without such text fields jump to the matching field in the right-hand column instead.
Swapping an image
Select the block holding the image. In the right-hand column below it sits the “Image source” with four tabs. For an image the AI should create, describe it under “Describe image” and choose a “Purpose” — the purpose determines format and composition. Your brand colours are taken into account automatically.
| Tab | What for | Without signing in |
|---|---|---|
| “URL” | An image that already sits somewhere on the web | usable |
| “Generate with AI” | A new image from a description, with a “Purpose” from hero to portrait | “AI image generation requires signing in.” |
| “Upload” | A file from your computer | “Uploading requires signing in.” |
| “Media library” | An image that already belongs to this website | “The media library requires signing in.” |
Adding a block
The blocks sit on the left in collapsible groups: “Basics” (already open when the editor loads), “Text & structure”, “Grids & cards”, “Conversion & CTA”, “Media & showcase”, “Content (CMS)” and “Blog & context”. Clicking a block appends it to the bottom of the page; from there you move it into position under “Structure”. Which blocks exist and what each can do is covered in the blocks reference.
Saving happens continuously
There is no save button in the editor. The current state is shown in the header; if it reads “Not saved”, use the “Retry” button next to it. Saved is not the same as published, though — see the next section.
Publishing for the first time
Everything so far is a draft. Only publishing turns your content into the finished website and puts it online.
-
Click “Publish” at the top right.
The button is only clickable while a website is selected.
-
Wait until “Publishing…” turns into “Published”.
Clicking a second time meanwhile does not start a second run.
-
Click the address next to “Published”.
It opens the finished website in a new window. “Live version” above the preview does the same.
| What happens | How you notice |
|---|---|
| Imprint and privacy policy are added if missing | Both appear in the page list afterwards |
| The colour contrast of the design system is checked | If something stands out, “… contrast note(s) — review in Brand & Design” appears; publishing goes ahead regardless |
| The content is read out and the website is built | The display reads “Publishing…” |
| The finished website is delivered | The display switches to “Published” with the address next to it as a link |
| A state is stored | The “Version history” gains a new entry |
| If the run fails | The message appears in the header, and an email goes to the person who owns the account |
The address takes the form short-name.xicflow.com and is reachable over an encrypted connection. The short name is derived from your company name: umlauts are transcribed, special characters dropped and spaces turned into hyphens. You connect your own domain afterwards under “Domains” — the xicflow.com address stays available alongside it.
Every further change needs another publish
The editor saves continuously but does not publish on its own. Anything you change after publishing stays a draft until you click “Publish” again. You can collect several changes and publish them in one go.
Other ways to start
The assistant is the most convenient way in, but not the only one. If you prefer to assemble things yourself, start from a template or an empty page.
| Starting point | Where | When it makes sense |
|---|---|---|
| Built by the AI | “Generate now” in the assistant, later the “AI” column in the editor | For the first complete website and for whole pages |
| Template | “Insert templates” on the left of the editor | When you want to assemble a page or a single section yourself |
| Empty page | Create a new page under “Pages” on the left | When you start from scratch |
| Another website | Site switcher at the top left: “New site”, then “Create site” | Once the first website exists — the assistant no longer starts for it |
Templates are ready-made sets of blocks. You open them via “Insert templates” on the left; the blocks are appended to whatever is already on the page. There are five categories to choose from.
| Category | Count | Contents |
|---|---|---|
| “Starting points” | 6 | Full-page foundations to get going fast |
| “Premium pages” | 10 | High-quality, full-page templates for SaaS, agency, portfolio, event and more |
| “Industries” | 13 | Ready-made landing pages per industry — apply and adjust |
| “Page types” | 12 | Single pages like About, Services, Pricing, Contact |
| “Sections” | 24 | Small building blocks to drop in — hero, features, pricing, FAQ |
While a page is still empty, the preview does not show a blank sheet but the note “No blocks yet” with the line “Add a block on the left.” and the two buttons “Insert templates” and “Create with AI” — the two quickest routes to a first piece of content.
Creating another website
From the site switcher at the top left, “New site” leads to the “Create new site” form. It asks for a “Name”, optionally a “Domain” and an “Existing website” from which “Load brand” can pick up name, tone and colours. “Create site” brings it into being. If your plan does not allow another website, a note about the maximum number appears instead.
Where to go next
This chapter ends where your website stands. Everything beyond it has a chapter of its own — here is which.
| If you want to … | Chapter |
|---|---|
| Creating pages, adding blocks, restoring versions | Editor and pages |
| Looking up what each block is meant for | Blocks |
| Asking the AI for more pages and changes | Working with the AI |
| Colours, fonts, logo, favicon and further languages | Brand and design |
| Managing images, custom content types, blog posts | Content, media library and blog |
| Connecting your own domain and understanding the address | Publishing and your own domain |
| Handling form submissions, inviting members | Requests and team |
| Quotas, plan, invoices, two-factor sign-in | Account, plans and security |
A sensible order for the first few days: go through the copy in the editor first, then tune colours, fonts and logo to your business under “Brand”, then connect your own domain. Requests, team and blog follow once the website stands.
When something does not work
The messages from the assistant and the editor each point at exactly one cause. Here is what sits behind them.
- “Brand analysis failed.”
- The catch-all message when nothing could be evaluated for that address. Often the page is not publicly reachable or asks for a password. A prefix like “https://” is not required — it is added when missing. Simply type in the name and industry yourself; the result is just as good.
- “Generation failed.”
- Click “Generate now” again. A second attempt does not create a second website; it continues building the one already started. If credits were charged for the first attempt, they are refunded when it fails.
- “Quota exhausted — please upgrade your plan.”
- The AI text quota of your plan is used up for the current month. The Free plan holds 20 text actions, and one complete build consumes one of them. The chapter on account, plans and security explains how quotas work.
- The generated website contains hardly any images
- Images draw on a separate, deliberately small quota — three per month on the Free plan. Once it is used up, the AI keeps building without further generated images instead of stopping. You add your own pictures afterwards via “Upload” or the “Media library”.
- “Invalid code” during the two-factor prompt
- The code changes every 30 seconds — wait for the next one and enter it promptly. If your phone clock has drifted, switch it to automatic time synchronisation. As a last resort, use one of your backup codes; the same field accepts them.
- After signing in you land in the editor instead of the assistant
- The assistant only starts while no website exists yet. Create further websites in the editor via the site switcher at the top left: “New site”, then “Create site”.
- The page list stays empty and “Publish” is greyed out
- In that case no website is selected. The site switcher at the top left then reads “No site” and the AI column “No site selected”. Pick a website at the top or create one.
- A “D” sits next to the site switcher
- The marker “Preview — not connected to the backend” appears in demo mode and when the connection is missing. The panel then also reads “Preview mode — sites are kept locally until the backend is connected.” Sign in or reload the editor.
- “Preview unavailable”
- Your changes are saved, only the display is missing at that moment. Reload the editor with “Reload”.
- “Page could not be loaded”
- The saved state could not be fetched. Do not change anything yet; reload the editor first — while this note is showing, nothing is saved, so an empty state cannot overwrite your page.
Messages word for word
These messages come from the checks running in the background and appear unchanged in the assistant or in the form.
| Message | Cause | What helps |
|---|---|---|
| “Bitte eine gültige öffentliche http(s)-Adresse angeben.” | The address cannot be resolved or does not point at a publicly reachable target | Check the address; addresses inside your own network are excluded |
| “Website nicht erreichbar.” | The page you entered does not answer | Try again later or fill in the fields by hand |
| “Website antwortete mit Status …” | The server of that page reports an error | Check the address — a redirect or a protection mechanism is often behind it |
| “Keine lesbaren Inhalte auf der Seite gefunden.” | The page provides neither a title nor readable text | Fill in the fields by hand; the result is just as good |
| “Marken-Analyse derzeit nicht verfügbar.” | The service is not answering at the moment | Wait a moment and click “Load brand” again |
| “Kein verwertbares Ergebnis erhalten.” | The analysis returned nothing that could be applied | Fill in the fields by hand |
| “Brand analysis requires an account.” | The analysis was triggered without signing in | Create an account or sign in |
| “Please create an account to generate.” | “Generate now” was clicked without signing in | Create an account or sign in |
| “Quota exhausted — please upgrade your plan.” | The AI text quota for the current month is used up | Check your plan or balance — see the chapter on account, plans and security |
| “Du hast die maximale Anzahl Websites deines Tarifs erreicht.” | Your plan does not allow another website | Keep working on an existing website or review the plan |
| “Diese E-Mail-Adresse ist bereits registriert.” | An account already exists for that address | Sign in instead of registering |